Skill Level: Intermediate
Time: 60 Minutes
You'll Need: Lino sheet, pencil, cutter, roller, permanent marker, acrylic paint, spoon, paper
- Sketching and Outlining the Design:

Begin with a blank sheet of lino and lightly sketch your design using a pencil. Take your time to ensure the desired composition.
Once you are satisfied with the design, trace over the outline with a permanent marker. Using an alcohol marker is recommended to prevent the design from washing away during the cleaning process.
- Cutting Away:

Using the lino cutting tools, start to cut away the elements of the design that you want to remain white. This may include fur texture, eye details, ear details and whiskers. Take care to cut precisely and follow the outlined areas.
- Rolling Out the Paint:

Roll out the desired colour of ink or paint on a smooth, non-porous surface using a brayer or roller. Ensure that the ink or paint is evenly spread.
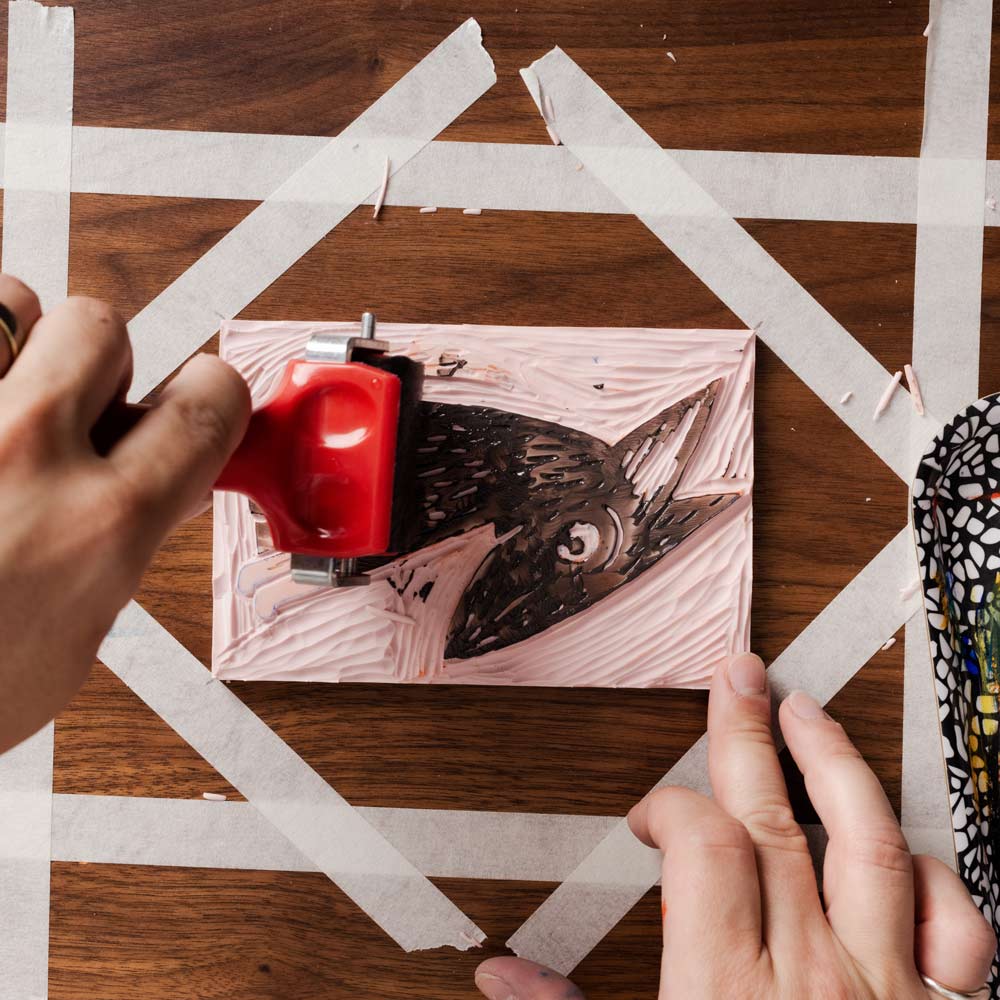
- Applying Paint to the Lino Sheet:
Apply the ink or paint to the lino sheet, covering the remaining raised areas. You will notice that the areas you previously cut away will remain the colour of the lino
sheet (in this case, pink), indicating where the ink or paint will not print.
- Aligning and Printing:

Choose the placement for your print and carefully align the lino sheet.
Place a sheet of printing paper on top of the inked lino sheet, ensuring it aligns correctly.
Apply even and consistent pressure on the reverse side of the paper using a spoon or baren. This will transfer the ink or paint from the lino sheet to the paper.
- Creating Multiple Prints:
It is advised to make at least five prints using the same lino sheet. This gives you a better chance of getting a print you’re totally happy with.
Wash and dry your sheet of lino. If any parts of your design have washed away, now is the time to reapply them using a pen or permanent marker.
- Cutting Away for the Next Colour:

While your prints are drying, return to the same sheet of lino and start cutting away the areas that you want to remain the second colour (e.g., blue). Leave behind the areas that will react with the next colour to create a new shade. Add any additional details or textures to the design as desired.
- Printing the Second Colour:

Ink up the lino sheet with the second colour when you are satisfied with the design. Create prints following the same printing process as before. The interaction of the new colour with the previous layer will create a different shade (e.g., burgundy from blue and red).
Clean and dry the lino sheet before proceeding to the final colour.
- Printing the Final Colour:

Repeat the cutting process to remove the areas that you want to keep black. Enhance the texture or details as desired. We cut out some texture into the dog’s fur and cut away the ground around the dog’s body.
Ink up the lino sheet with the final colour (black) and ensure the design is as intended. Print the final layer using the same process as before, aligning the lino sheet and applying pressure to transfer the ink.
- Analysing your prints:

Interestingly, during the process of these prints, it was discovered that the test prints turned out better and even more captivating than the final prints. The test prints showcased unexpected textures, colour interactions, and uniqueness to each print.
This serves as a reminder of the importance of experimentation in printmaking, as
it allows for unexpected discoveries and the opportunity to push the boundaries of
creativity. Embracing the unpredictability of the artistic process can lead to truly
remarkable and intriguing results.